Thursday, August 26, 2010

Vicki's Bowl page 3

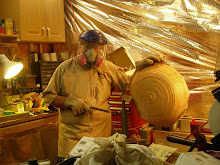
8/17/2010  Today was the day I decided to finish the base.  I first refined some of the burned lines.  I tried to make some of them more consistent all the way down the line, some to fix my less the perfect lines.  This went pretty well.  Then I took it to the lathe.....  I gave it a light sanding.  I found a block and trued it up for a jam chuck. 
I had purchased woodturning double sided tape recently.  I put several tape strips on it, pushed it up with the tailstock and started taking off the tenon.   Now this is where life gets interesting...
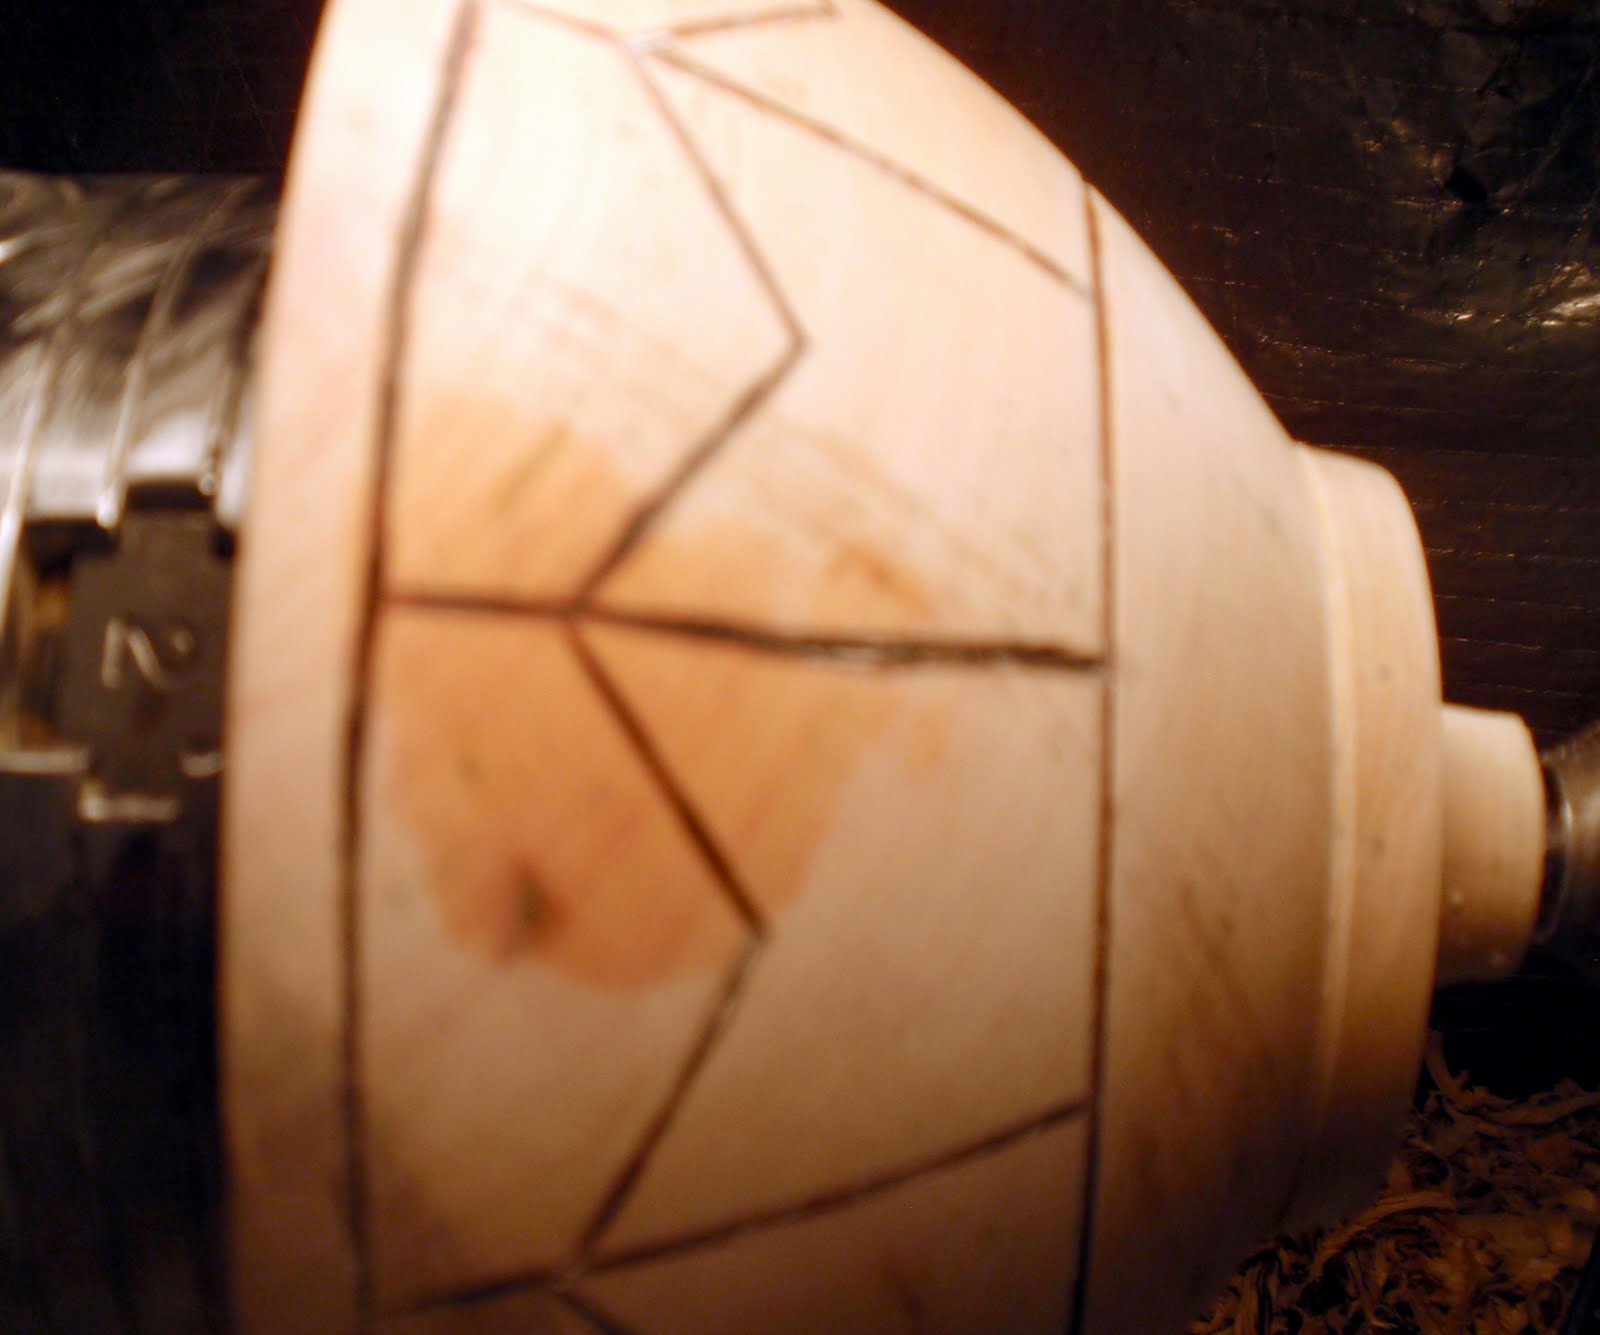
I turned down the base tenon and started cleaning up the base.  I straightened out the curve to the base and brought it in a little.  I decided to separate the base and the bowl with a grove.  When trying to take the tenon down  a little further, I had a catch.......  What you can't see in the out of focus shot is a chunk out of the tenon.  By the look of the ripped fibers in the tenon, I thought I might have a funnel.  What I was trying to show in the out of focus shot is the scratch that I was soaking in water to try and pull out the fibers.  Fortunately that seems to be the extent of the damage.  The tape was all in a ball in the bowl.  I have some old double sided foam tape that is used to put light signs up at offices.  I put some of that on and realigned with the hole.  This tape worked very well and I cleared the tenon, sanded and all is well.   I am sorry that I don't have good pictures of the damage but I have found that raised blood pressure and photography do not coexist.

8/26/2010
I had been pretty nervous about posting these, because I am way out of my comfort zone.  Today for some reason I have decided to publish... not sure why... maybe getting out photography booth today is bringing me mentally closer...

Vicki bowl part 2

8/1/2010
The piece has been sitting in my shop calling me..."Turn me!"  I have been seeing all these wonderful things on Wood Central that professional turners have done and I am very impressed and a little depressed that mine will not be that impressive.   But I have resolved that I will do what I can do.  

Today I weighed it and it lost 32% of its weight.  This should be fine, though I rarely weigh them this is a special project...right.  I rounded the tenon and then put it in the chuck.    I trued up the outside and then the inside.  I had liked the curve on the roughed out form with a slight curve at the top and slightly more curve at the bottom, but by the time I trued it up it had a nice curve that I liked a lot.  I then went to the inside to follow the outside curve.  I made it a little thicker than I would normally because I knew that when I try and get greedy on a special project I often make a mistake and it doesn't work out, so better safe than sorry.  I also don't know what thickness would work best with my burning. 

I rough sanded the inside but didn't worry about finishing it.  I didn't sand the outside yet, but I did put lines on it.  I used the indexing of the lathe and drew lines to give me equally spaced lines.  I then played with my design. 

OK, My idea on the design....  I have never put designs on my work.  I have worked on burning lines on ornaments with wire to mainly hide my joint, and I put circles in the base of many bowls but never as a major design element.  When I pulled out the wood the other larger piece had a stick figure design.  I think of him as the "man in the tree."  As I spent time trying to figure out what I can do with this piece of wood, I kept coming back to the "man" and how the tree was used for kids climbing and playing.  I also keep thinking about the project of many people coming together.  So my thought is to have "the man in the tree" holding hands around the bowl, like kids playing ring around the (rosey) tree or all those people helping with the project.

8/6/2010
I looked at this design for several days...I had several options as I saw them. I could leave it as it is, I could add head like designs on it to make it look more like people, or burn in that line I penciled in to give me a max. I didn't like it as it is, the heads, though cute in small quantities, are not quite what I was looking for, so I opted to put the line across the top.

I like the design.  I could have done a better job, with practice, of the burning but I think it gives that kid quality like the kids that climbed it for so many years.


My burning tool isn't exactly state of the art.  I got it in the mid 70's as part of a wood-burning kit for kids.  I have since lost the screw on tips but have been using this to put my "signature" in my bowls for several years.  There used to be a cork ring around where the tape is because it gets quite warm there.


Vicki's tree project

7/8/2010
Vicki Jordan had a tree taken down at her house and one that was there while she raised her family and it grew with them.  She was sad when it came down and wondered what to do with the wood.  She didn't want to just burn it and her husband John Jordan, world renown woodturner, could not use it all. So she decided to get a lot of people, professional and amateur, to make items.  The only stipulation other than pay the "fill a box" shipping, is to send in a high quality photo of the piece an maybe have it available for a show if it develops.  I have no intention to make something show worthy but I do want to push myself a little further than I have in the past and try to make it special somehow.


These are the two larger pieces of the four I was sent.  The larger one is about 6.5 x 7 x 5. 

 The first decision was what type of bowl did I want to make?  I looked at the wood, I had been doing a lot of natural edge bowls lately and although I usually don't care if there is bark or not, the bark had some issues on the edges and I would want to try and have the bark so I looked at the other side and noticed I would need to take the pith out. 


I decided to make a "normal" bowl and put the bark end at the base of the piece.  I cleaned it up and put a faceplate in the center of the bowl.


I turned it round and then thought about what I could make.  That branch inclusion near the rim, feature or foe?


I found a basic shape that the bowl wanted to be,

And I roughed it out to let it dry.....


This is an oak bowl about 10 inches across and about 3 inches tall.  After a trip to a class reunion, I was asked by someone there to sell her a bowl for an auction to benefit her church.  She said that she would look at my facebook and figure out what she liked.  I looked to see what was in my todo pile.  I found this bowl and finished it.  It is oak and I have come into some oak lately and I had not done much with it before.  I like a lot of features of it and not sure it all works together.   

I took some pictures to make a card to go with the bowl.  I had put some plastic pipe together to make a portable photo booth.  When I tried before, the pictures did not come out too well.  I thought that I would start to get better at shooting my work.  I like some of these but think I can do better....  I am working on a Vicki bowl (posts to come later, but getting close enough to mention ;) and I want to get some good shots with it.  I posted these first two shots on WoodCenteral hoping to get some tips from people that know what they are doing.  I didn't post the last shot because that is the part of the bowl (and shot) I am least excited about.


I donated the bowl, hoping to get the shipping back and I hope it will bring a reasonable price for them. Not sure what the market is in Hamburg, PA but I am excited to hear about it.

Tuesday, August 17, 2010

Chapter Challenge

I am not a big joiner, especially a leader.  I will work hard, do what I am told but not big on volunteering to lead a project.  So funny thing happens.... I mention to the president after the July meeting if we are doing anything on the chapter challenge.  So the president brings it up in the August meeting and describes it and Phil has one idea for it and describes it  The president puts it out for a volunteer to head the project... silence.. anyone... silence... "I'll do it...." yep  if you bring up the idea it is your baby!

Montgomery County Ag Fair

8/17/10  Had a great time at the Montgomery County Ag Fair in the MCW booth.  We had a big wheel lathe and a jet mini lathe.  This is the third year we had the big wheel and the first year that we had power to run a real lathe.  The mini is one that we loan to the Wounded Warriors program at Walter Reed.    

The turner in the pictures is Bert our president and the one instrumental in getting us into the WW program and the MCAgFair.  He has done a great job getting us into these programs.   He has done a great job since becoming president in January.   


The grand champion in craft was a series of turnings.  Very interesting.

Saturday, August 14, 2010

Day 2 ... not so well.

I did round two of the McNaughton with the larger blank.  In retrospect, maybe too big for my mighty little lathe.  It started out maybe 6 or 7 inches deep, with a tenon on it.  When I started the coring in the center I had a catch and the piece came spinning on the bed with the tenon cracking out.   New tenon turned and remounted tried again and came out again.   Plan B... returned the tenon and remounted it, pulled the tailstock up and turned the outside bowl.  It worked well, up to the point at the bottom... There shouldn't have been a point at the bottom but that is how I turned it .... I think I can get something use full but the large bowl may be more decorative.. Then put a tenon on the center and took a core out of it.  This worked fine.  Not sure if the first problem was sheer size, technique, or the sapwood tenon.  Probably a combination of all of them.

I finally got around to fixing my tailstock.  When I got my Nova DVR the tail stock was missing a setscrew to hold the system together.  When I put it together, it never ran smooth.  It always turned very hard.   I have been trying to get the hex wrench into it to get the setscrew out and clean it out and it hasn't been working, like the setscrew wasn't there.  I was cleaning up after the oak was on the lathe today.  It corrodes the bed and any iron it contacts.  I had the tailstock off so I finally decided to fix it..  I popped out the bracket that the set screw holds but the crank wouldn't come right out.  After a lot of trial and error I got the crank to pop off.  I dug around where the set screw was and realized it was filled with gunk.  I dug it out with an ice pick and got the screw out.  Cleaned off the parts, oiled them and put them back together, and it seems to work.

Friday, August 13, 2010

first coring was successful

I got my McNaughton M8 system this week.  ;)  
I got the chainsaw out today and cut up a 15 inch diameter oak log... It was about 20 inches long.  I cut it in 1/2 and cleaned it up for the lathe.  Pith was off center so one side was deeper than the other.  Smaller one went nicely over the bed, the larger one could have been trimmed better to fit but had to turn the head.
I pulled out the McNaughton system from the box, I was so good not opening the shipping box, and the Mike Mahoney DVD  on the McNaughton Center Saver.  I didn't know this came with the system when I bought it, but I am so glad that it did... I came up and watched the DVD for 20 min. then went back down, put the smaller blank on the lathe and set up the M8 based on the DVD.   Went smoothly, had a few hiccups, and some small catches.  I am not real fond of the support bar that didn't seem to stay in place for me but it was fun and a good first experiment.  I did a real small middle bowl, next one is a little thin on the bottom but the next one and the big one turned out with good thicknesses.

I am a happy turner!